Thank you for being a friend of design609

When I first dreamed about a blog I thought I would effortlessly write amazing posts that would captivate people to enjoy this journey of transormation. I didnt factor in time. The time it takes to do all these ‘transformations’ at 609. In our quest to enjoy this process of making 609 a home; we made a conscious decision to not kill ourselves in the process and have fun. I hope I didn’t make you lose interest in my scattered and random posts. It’s unfortunate that time goes bye so quickly and between work, family, friends, obligations and duties carving out hours for projects is not always at the ready. Although I am pleased with the strides we have made, it doesn’t necessarily make for captivating an audience. If you are still out there enjoying our journey with us then I must thank you for your understanding and patience. I can’t promise that I’ll be better at a regular scheduled blog post; but, I’ll try my best to post more frequently. 

InJOY-Trisha 

What’s up, doc?

Happy September!

Here is just a quick posting on what’s up around here @design609.

LIVINGROOM: The fireplace mantle shelf came in.!. The camera doesn’t really capture the detail of the tin. We are thrilled with the results. The mantle shelf ties in with the tin-framed pictures in the Livingroom. It’s exactly what we hoped for. We are now contemplating two sconces for either side. We’ve also been on the hunt for the perfect stools to go in front of the fireplace. The woven ones we purchased struck out. They looked better in Amanda’s Suite in front of her sofa. Sometimes the hunt is the best part. We also have to solve the hearth before we can change the carpet. It feels like the pink carpet will never be replaced. All in good time.

KITCHEN: We fell in love with a limestone herringbone/basketweave backsplash. It was not an easy tile to work with in the application that we needed. Michael had some very difficult cuts to deal with. We also had to move the lightswitches to the pantry in order to have a clean line. We still have some finish work to do, a little drywall, trim pieces and some touch-up painting . It’s coming along nicely.

OFFICE: The trellis covering the skylight was replaced by woven panels. Because the material is woven branches wrapped in metal frames, we figured we weren’t able to cut them down without them unraveling.  Our solution was to overlap the center. It brings a sculptural accent to the room. The panels are also hanging in the Livingroom on the wall. It ties in the two adjacent rooms nicely.

SUNROOM: I finally found a floor lamp to accommodate my giant woven lampshade. It needs a taller harp; but, I love my Homegoods Clearance find. I located two wall sconces on line that resemble the look to hang on either side of the Palm picture. I’ll post a pic once they are up.

BACK PATIO: If you remember the quotes to replace the existing patio  were out of sight. So, we decided to tie into the existing brick patio and continue the herringbone design. This is becoming the herringbone house. Michael installed a small patio outside of the sunroom doors so that we can walk out ans sit and enjoy a cocktail at night. He also built a small patio to house the grill. He is reworking the existing patio by changing the curve angles to a more square look and also reworking the step. It should be lovely when it’s done and all the plantings are in.

THE ENTRY:We finally replaced the Front Entry maroon door with green. We used the leftover mantel paint  from the kitchen fireplace. We like it so much better. We’d love to replace the Grey vinyl shutters with brown wooden shutters and iron accents we used at our old house. It’s on the Wish List.


AMANDA’S SUITE: The flooring is being installed in Michael’s spare time. She’s grateful to have the closet in. Remember this was all just wasted space behind the wall that we opened up for a walk-in closet. It’s to die for!  We still need to install a mirror, window treatments, possibly a rug and jewelry/accessory storage. For now, it’s just divine and provides room for all her clothes. 


MUDROOM CLOSETS:

 
By moving Amandas clothes out I was able to reclaim the Mudroom Closets. I get the Mudroom closets back just in time for Fall coat weather. 

The Cedar Closet is housing all the Ski Wear for Ski Season. It also provides hanging storage for all the laundry I hang to dry. I just located the kids old dress up clothes that I washed with baking soda, vinegar and three rounds of detergent inorder to get the musty smell out. 

GUESTROOM #2: Is coming along slowly. We basically just installed some lights and hung pictures. It’s not so welcoming just yet. 

Well, that’s the latest update. I hope this posting finds you all had a wonderful Summer and you’re looking forward to Fall. We are eager for Fall and cooler weather so that we can do some yard work and much needed plantings. 

 inJOY-Trisha

Be Our Guest

Setting up a space for guests is a labor of love. You want to put alot of thought into what will make your guest(s) comfortable.

10 Must Have Items for the Guest Bedroom:

1. A BED: A comfy bed is a must; preferably a Queen to accomodate couples. •If you have the room and both mixed couples and grandchildren visit; two twin beds will do the job and give more versatility. •If you are in a pinch for space consider: a twin bed with a trundle bed, a daybed, a sleeper sofa, or even an air mattress works in a pinch. 

2. BEDDING: You can never go wrong with crisp, white sheets. I like to layer the bed with a nice coverlet or a soft blanket, plus a duvet or comforter folded on the bottom. An additional throw blanket is nice to have for naps. I use poly-filled pillows in the pillow shams, layered with throw pillows and an accent pillow. I stash (2) down-filled pillows in the closet. Some guests prefer down-filled, some poly-filled. I always like to have a little fan next to the bed; just incase someone is a little warm at night. (For a special touch: iron the top sheet or at least the band where you fold it over at the top.)

3. WINDOW TREATMENTS: Privacy is a must. Also, consider the direction the room faces. If it faces East consider adding both blinds and curtains so that the bright morning sun doesnt wake your guest(s). 

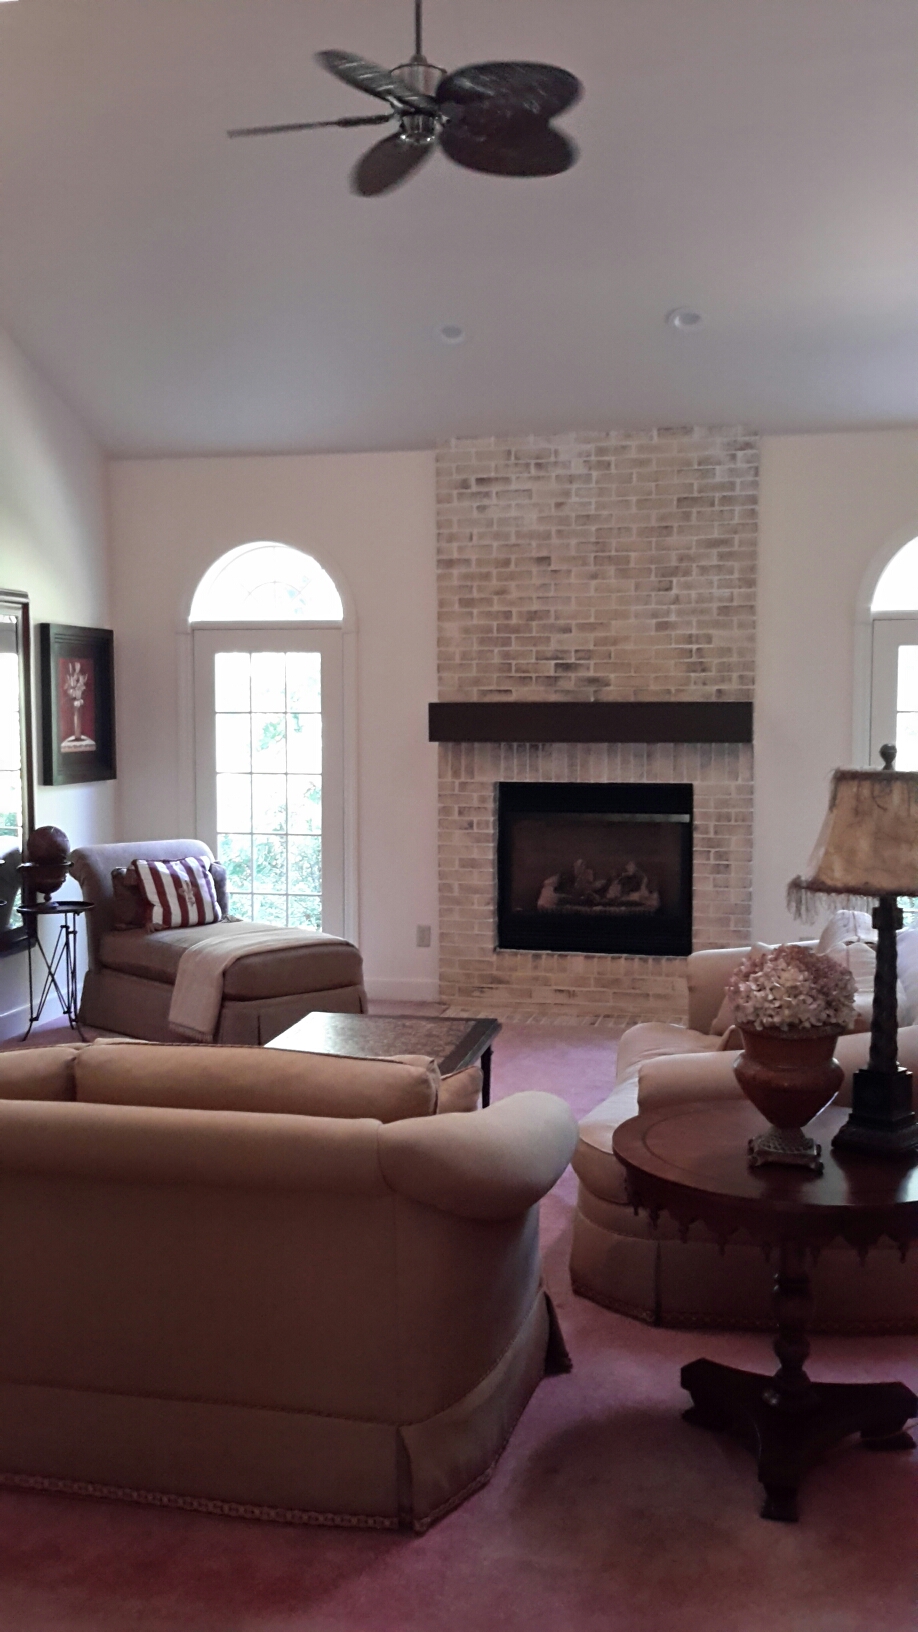
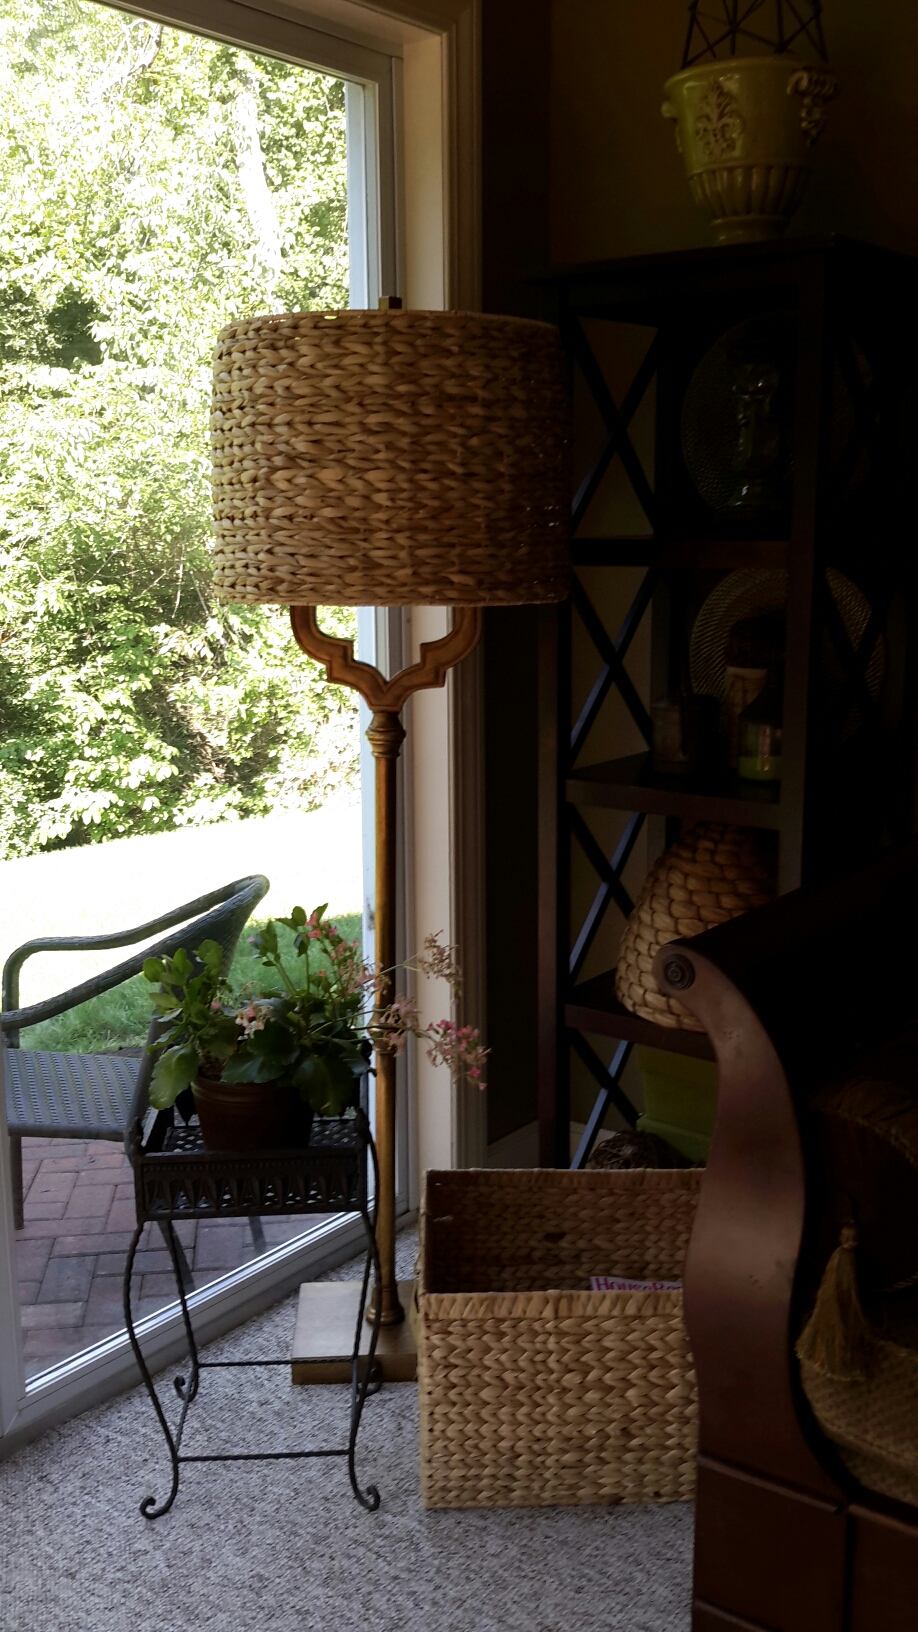
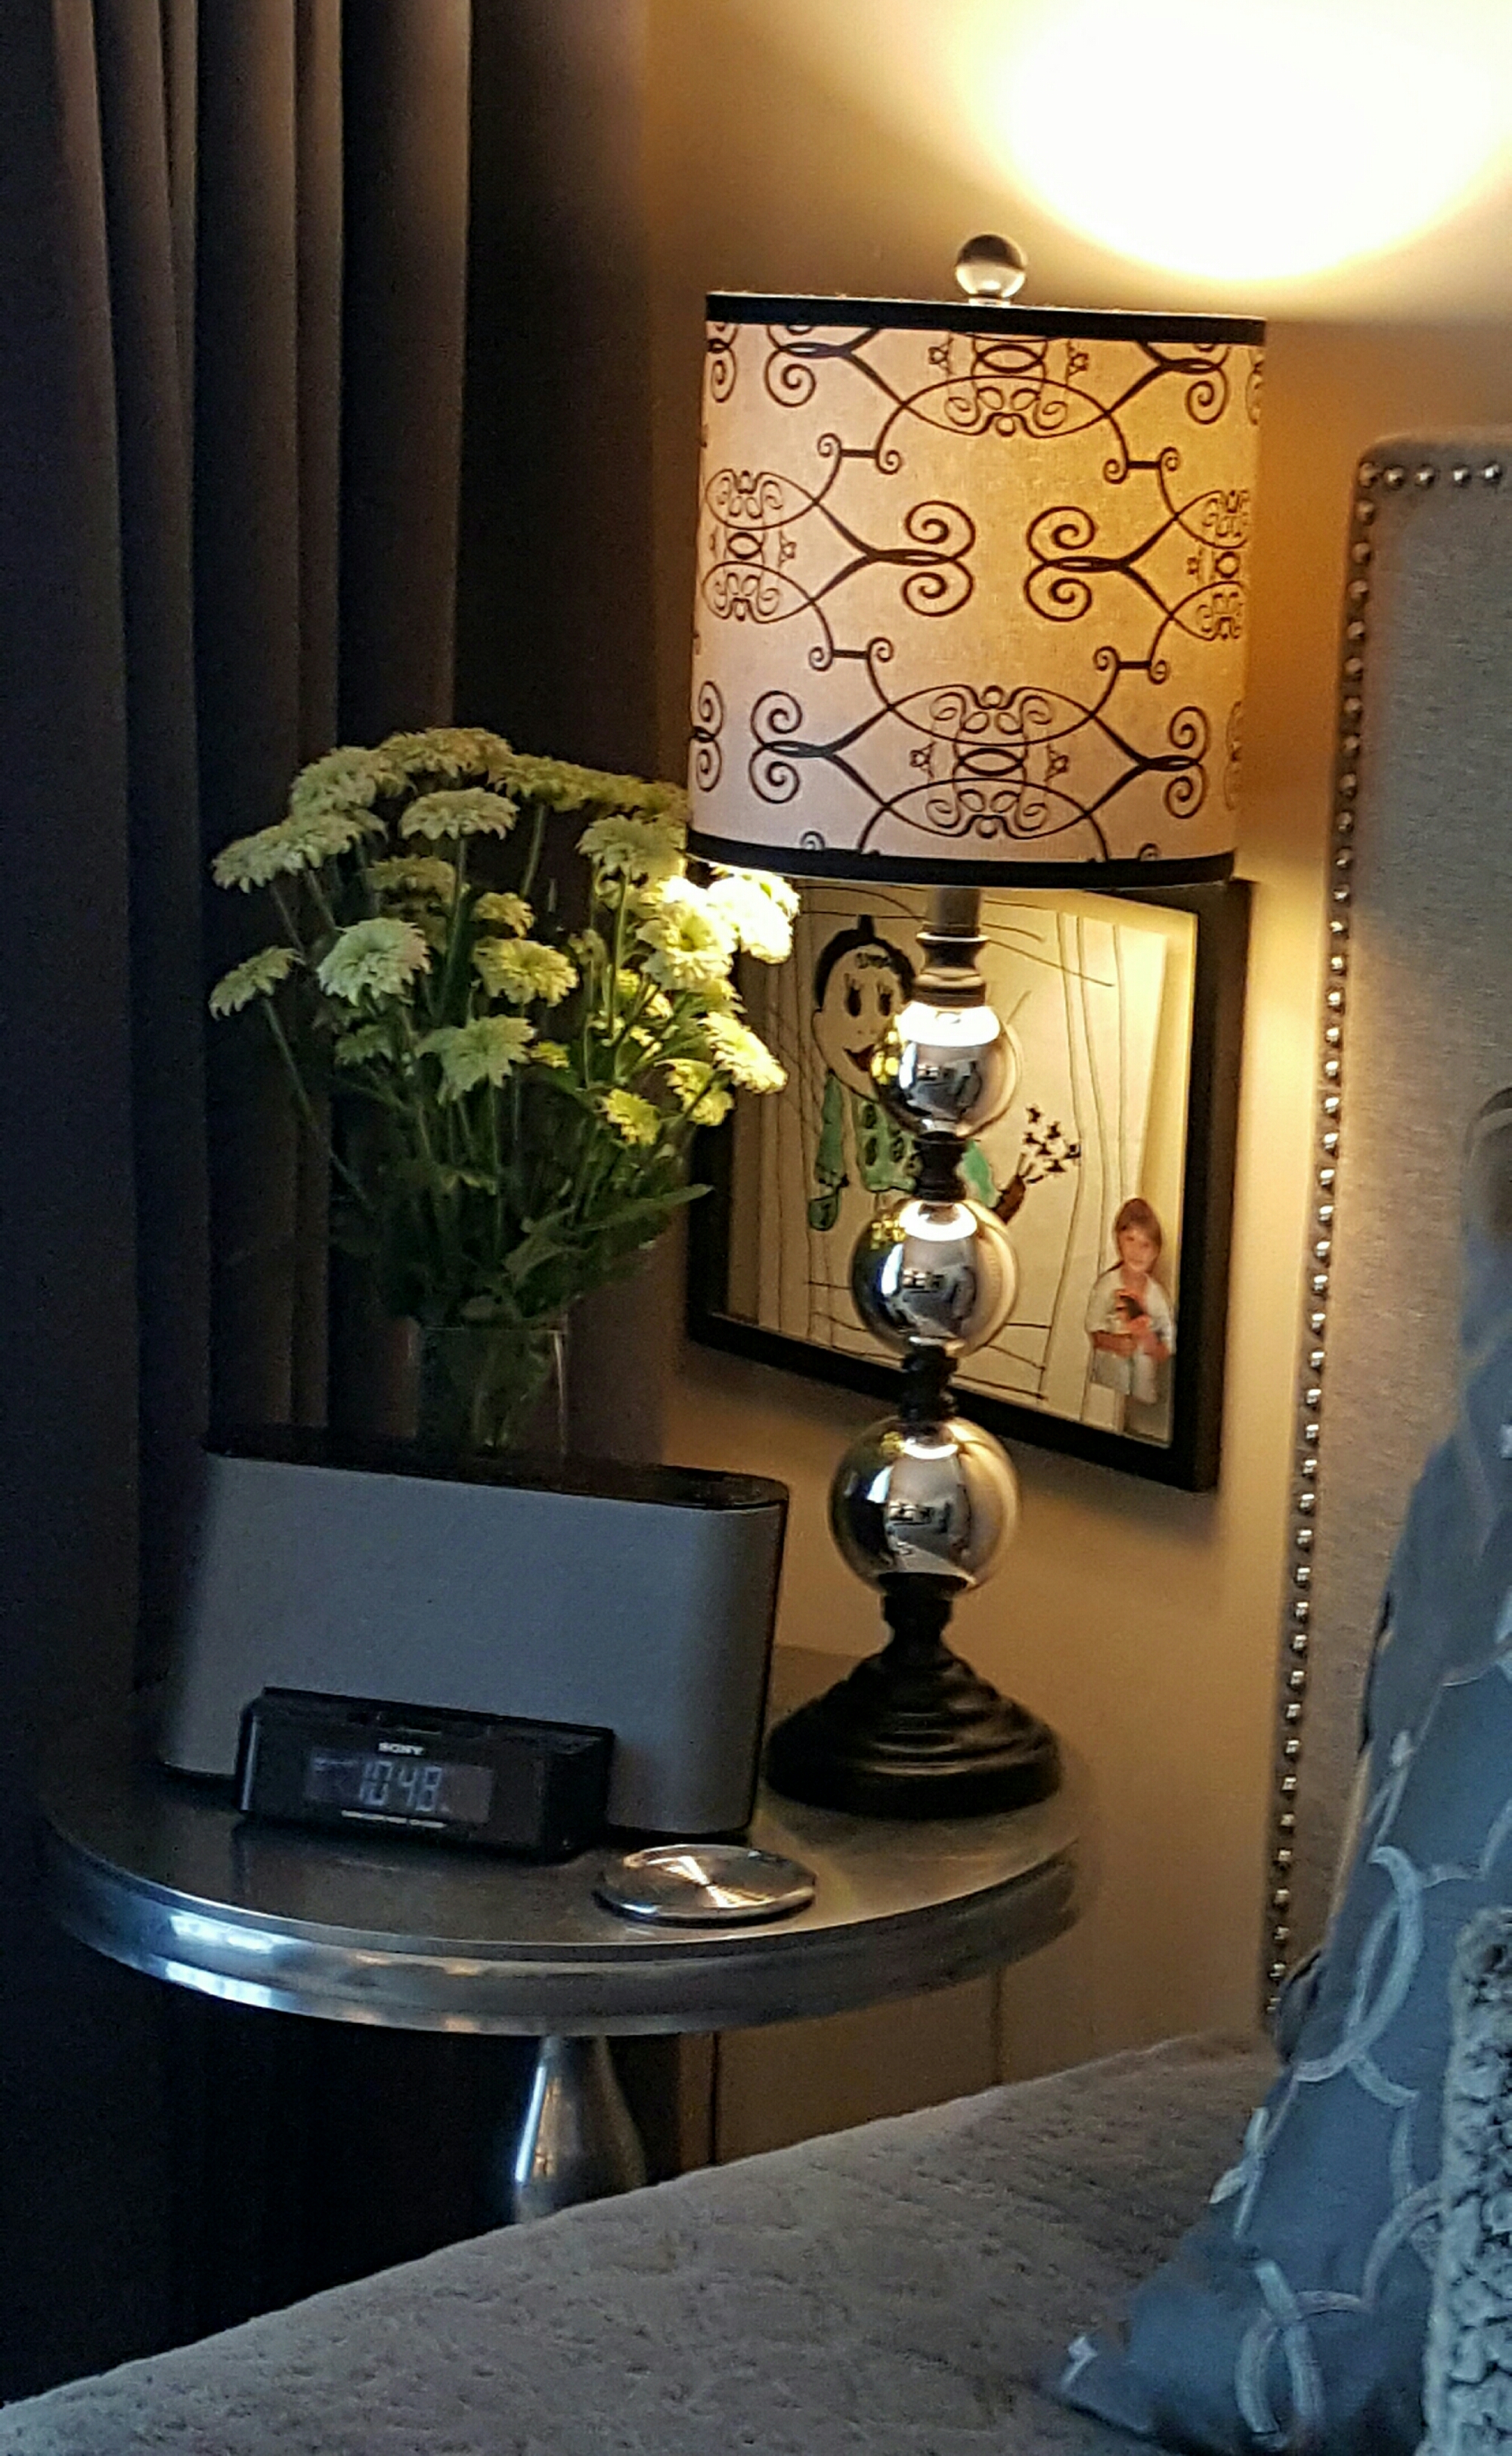
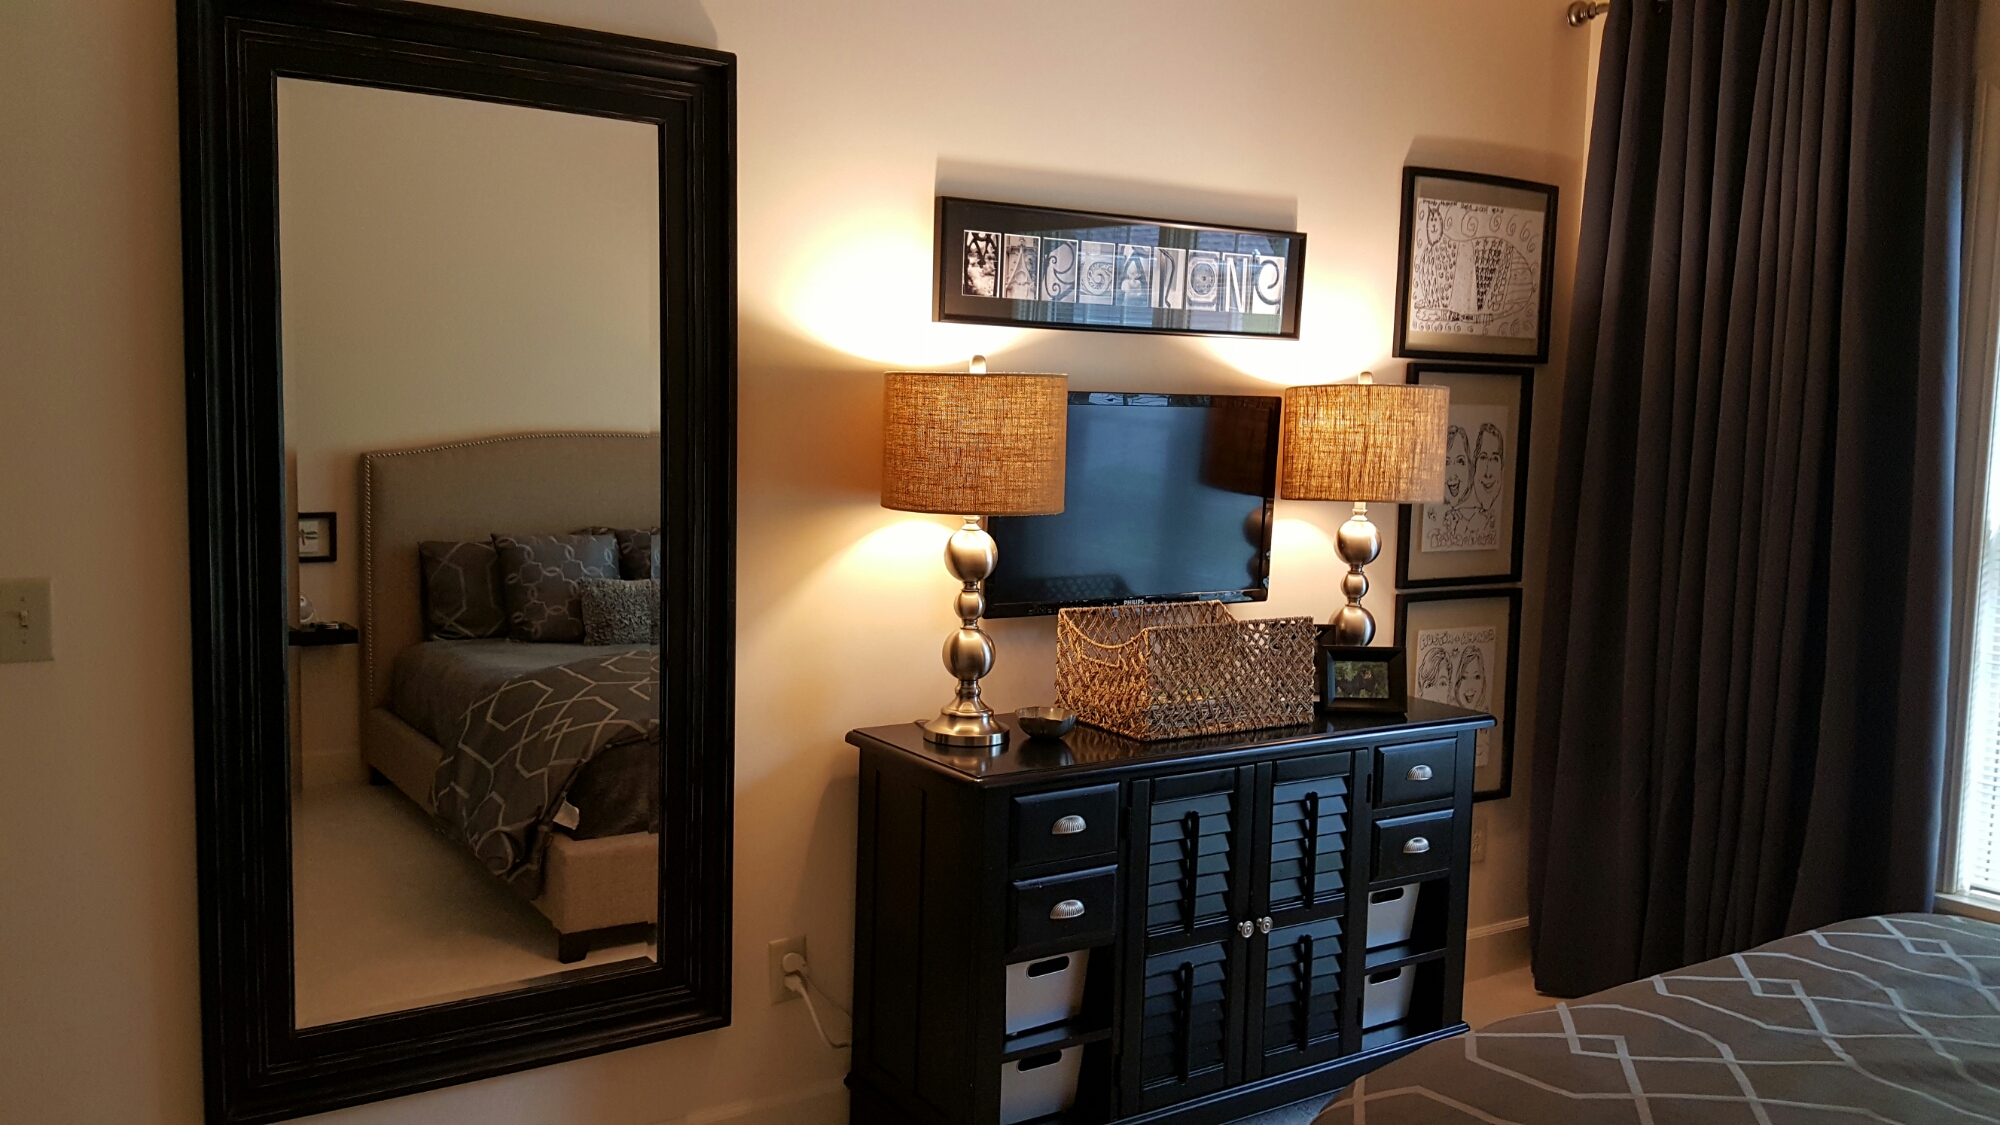
 4. LIGHTING: A nice bedside lamp is nice for those who like to read before bed. Additional lighting is nice as well; as noone likes a dark, gloomy room. 

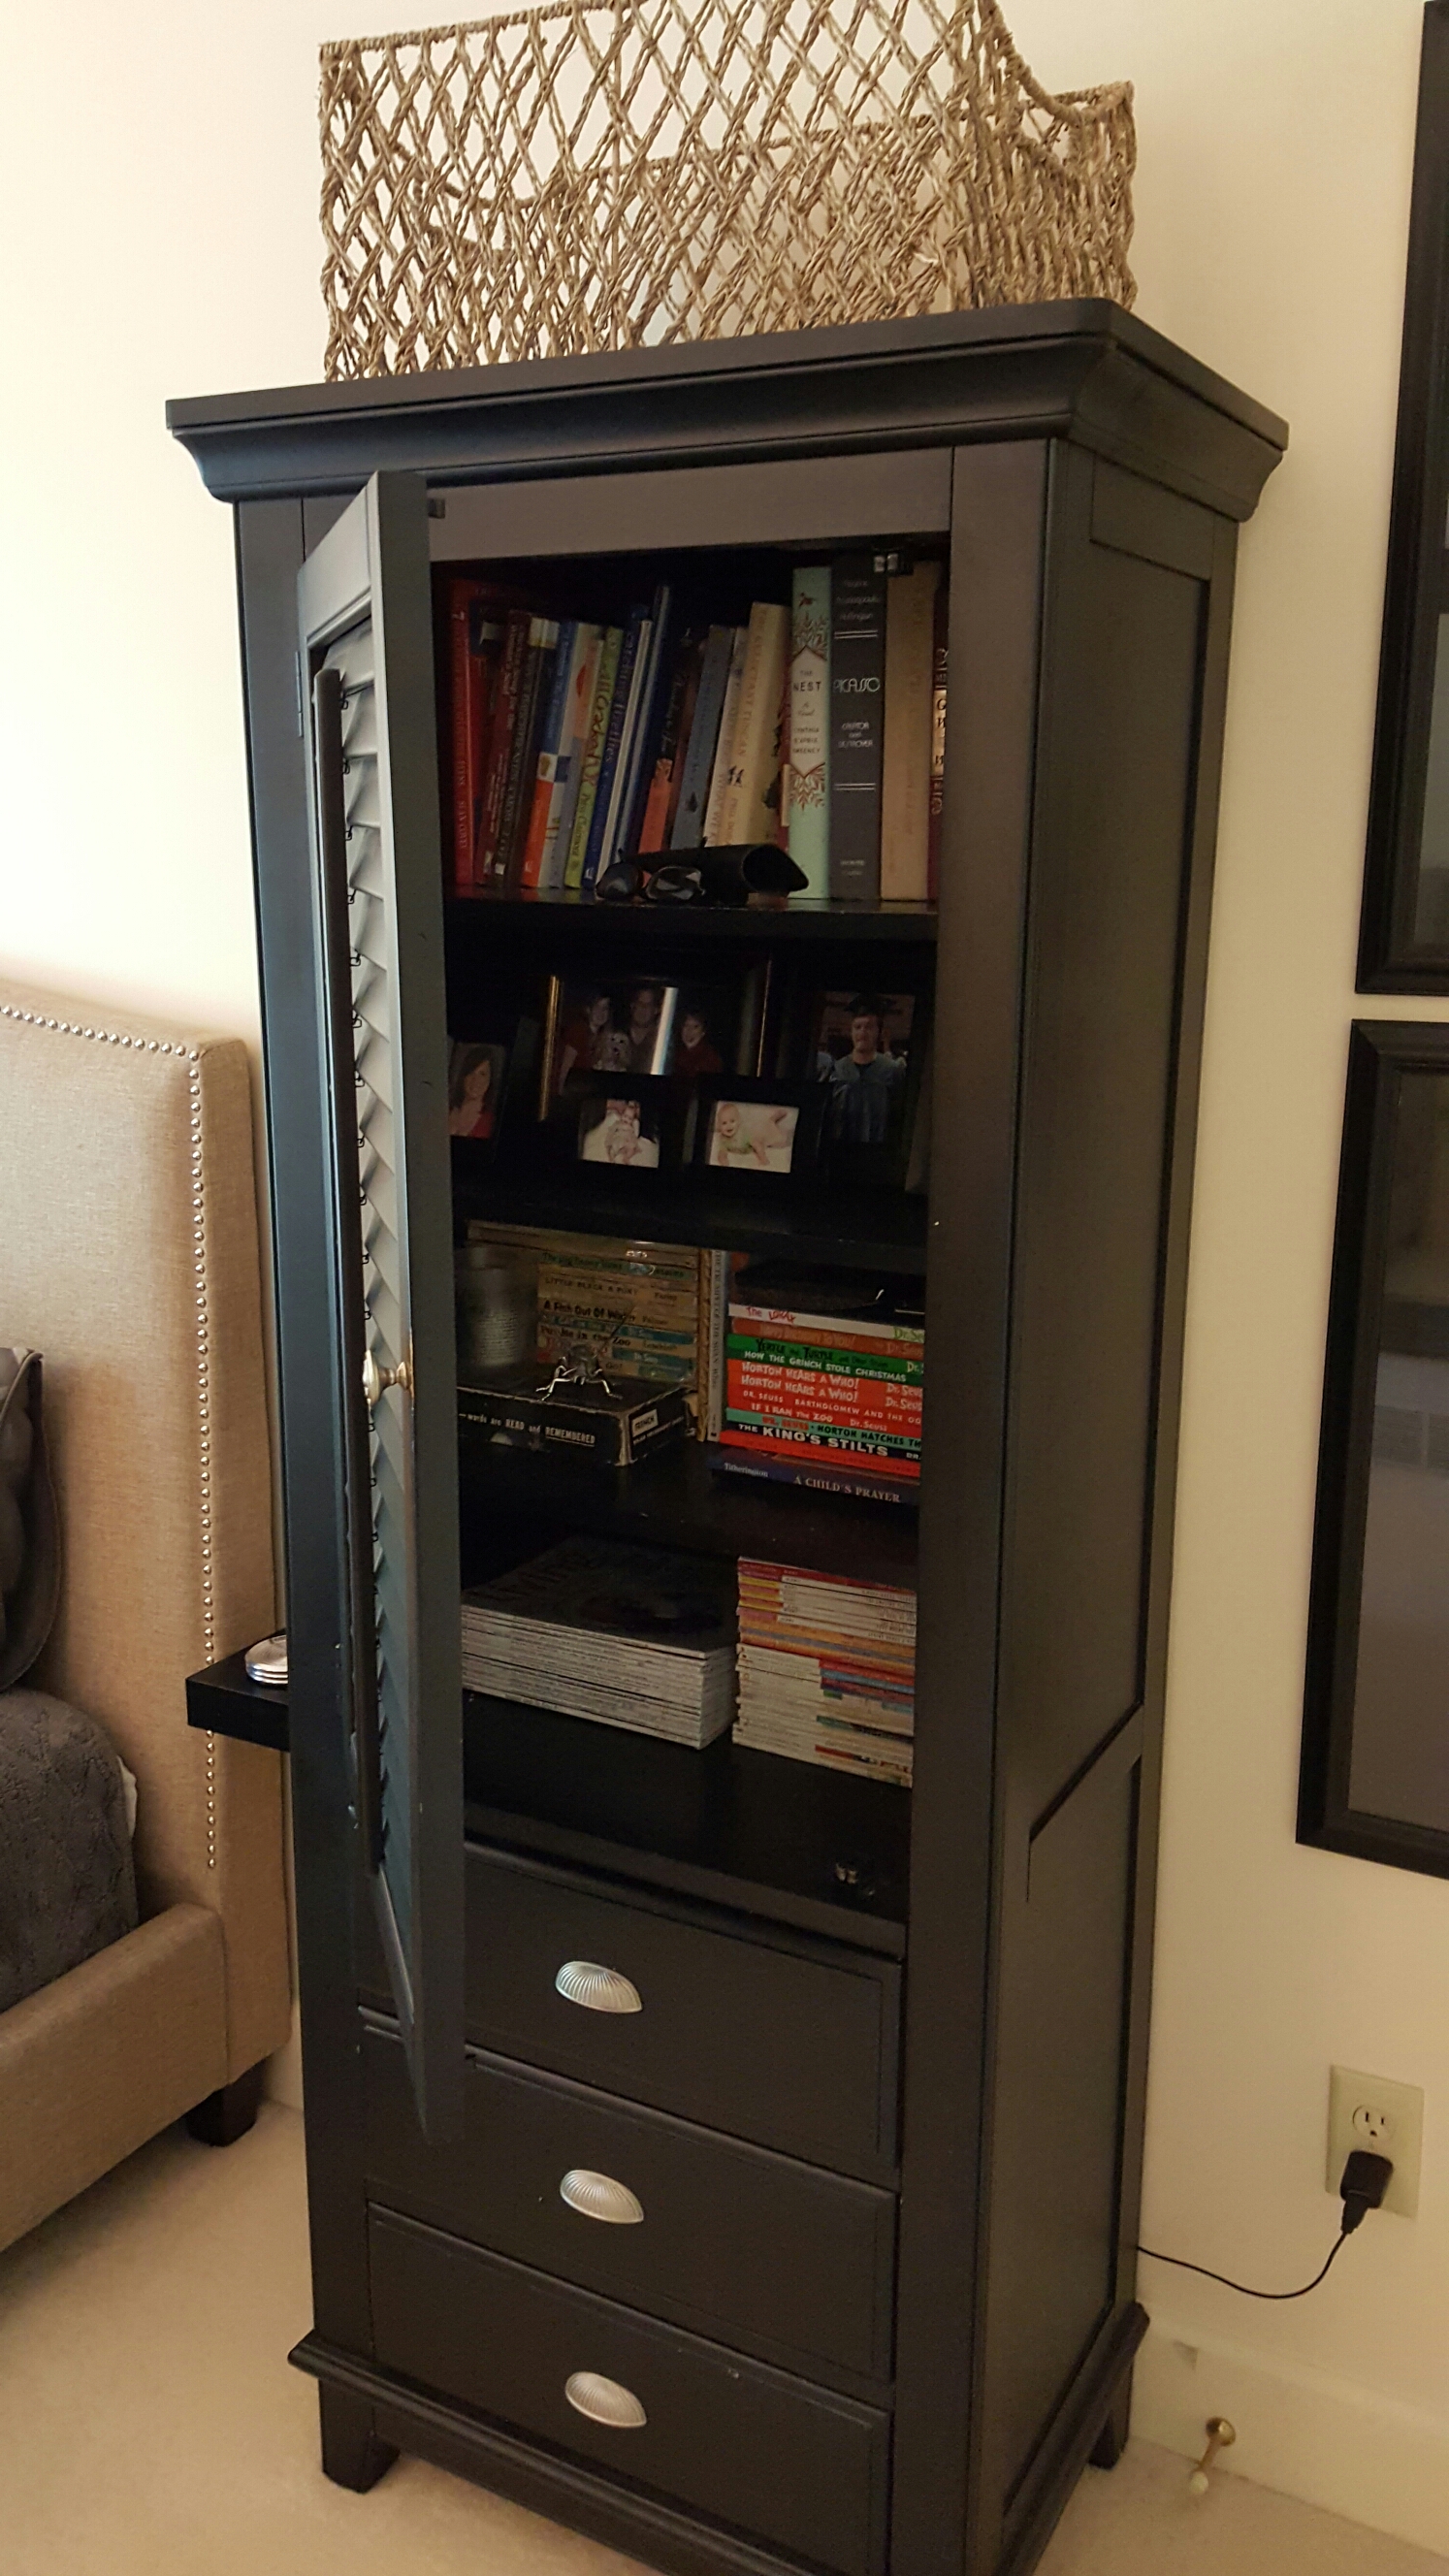
5. READING MATERIALS: It’s nice to have some local magazines and brochures on hand. If room permits; some books, magazines, children’s books and reading glasses are nice to have on hand too. 

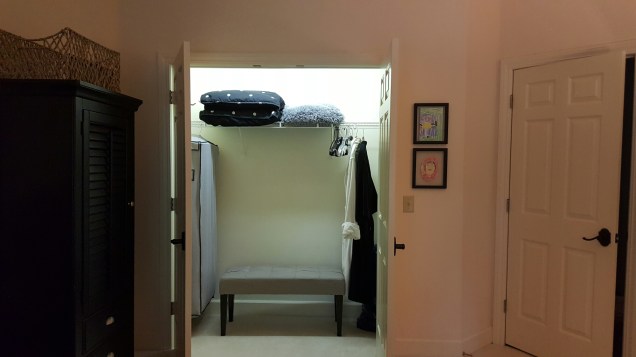
6. CLOSET SPACE: It’s nice to have a place to put their luggage and hang up their clothes. Don’t forget to put a variety of hangers to accomodate pants, tops and sweaters. I also have robes for him or her hanging in the closet.

7. MIRROR: A full-length mirror is handy for guests to check their outfits. 

8. EMERGENCY ITEMS: I store our lint roller, shoe polish, a sewing kit, bandaids and other medical supplies in the dresser in the Guest Room. 

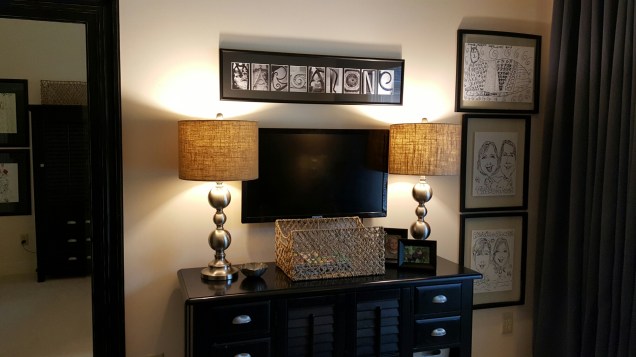
9. SPECIAL TOUCHES: I like to have photos of extended family on hand. (Especially if they gave you their child’s photo.) In my cabinet, I devoted a space to display photos. If you have a spare tv its nice for guests that need it to go to sleep. We have a Smart tv mounted so Guest(s) can watch Netflix, check their email or surf the Internet. A candy bowl with Andes Candies is a perfect little treat. If room allows a chair is nice to have. Fresh flowers are always nice. 

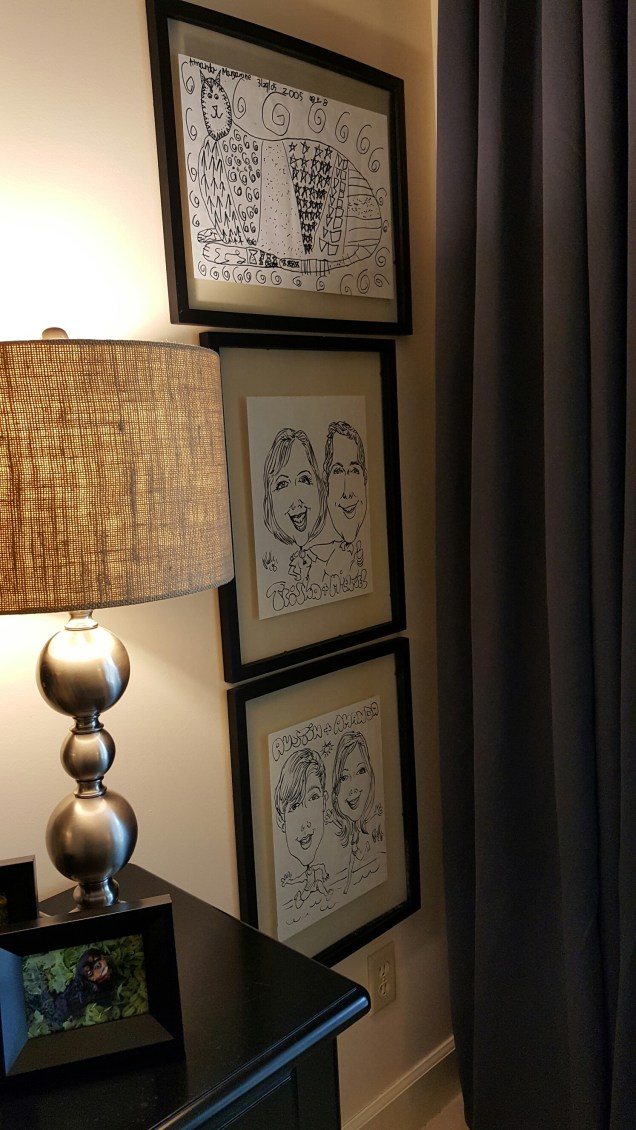
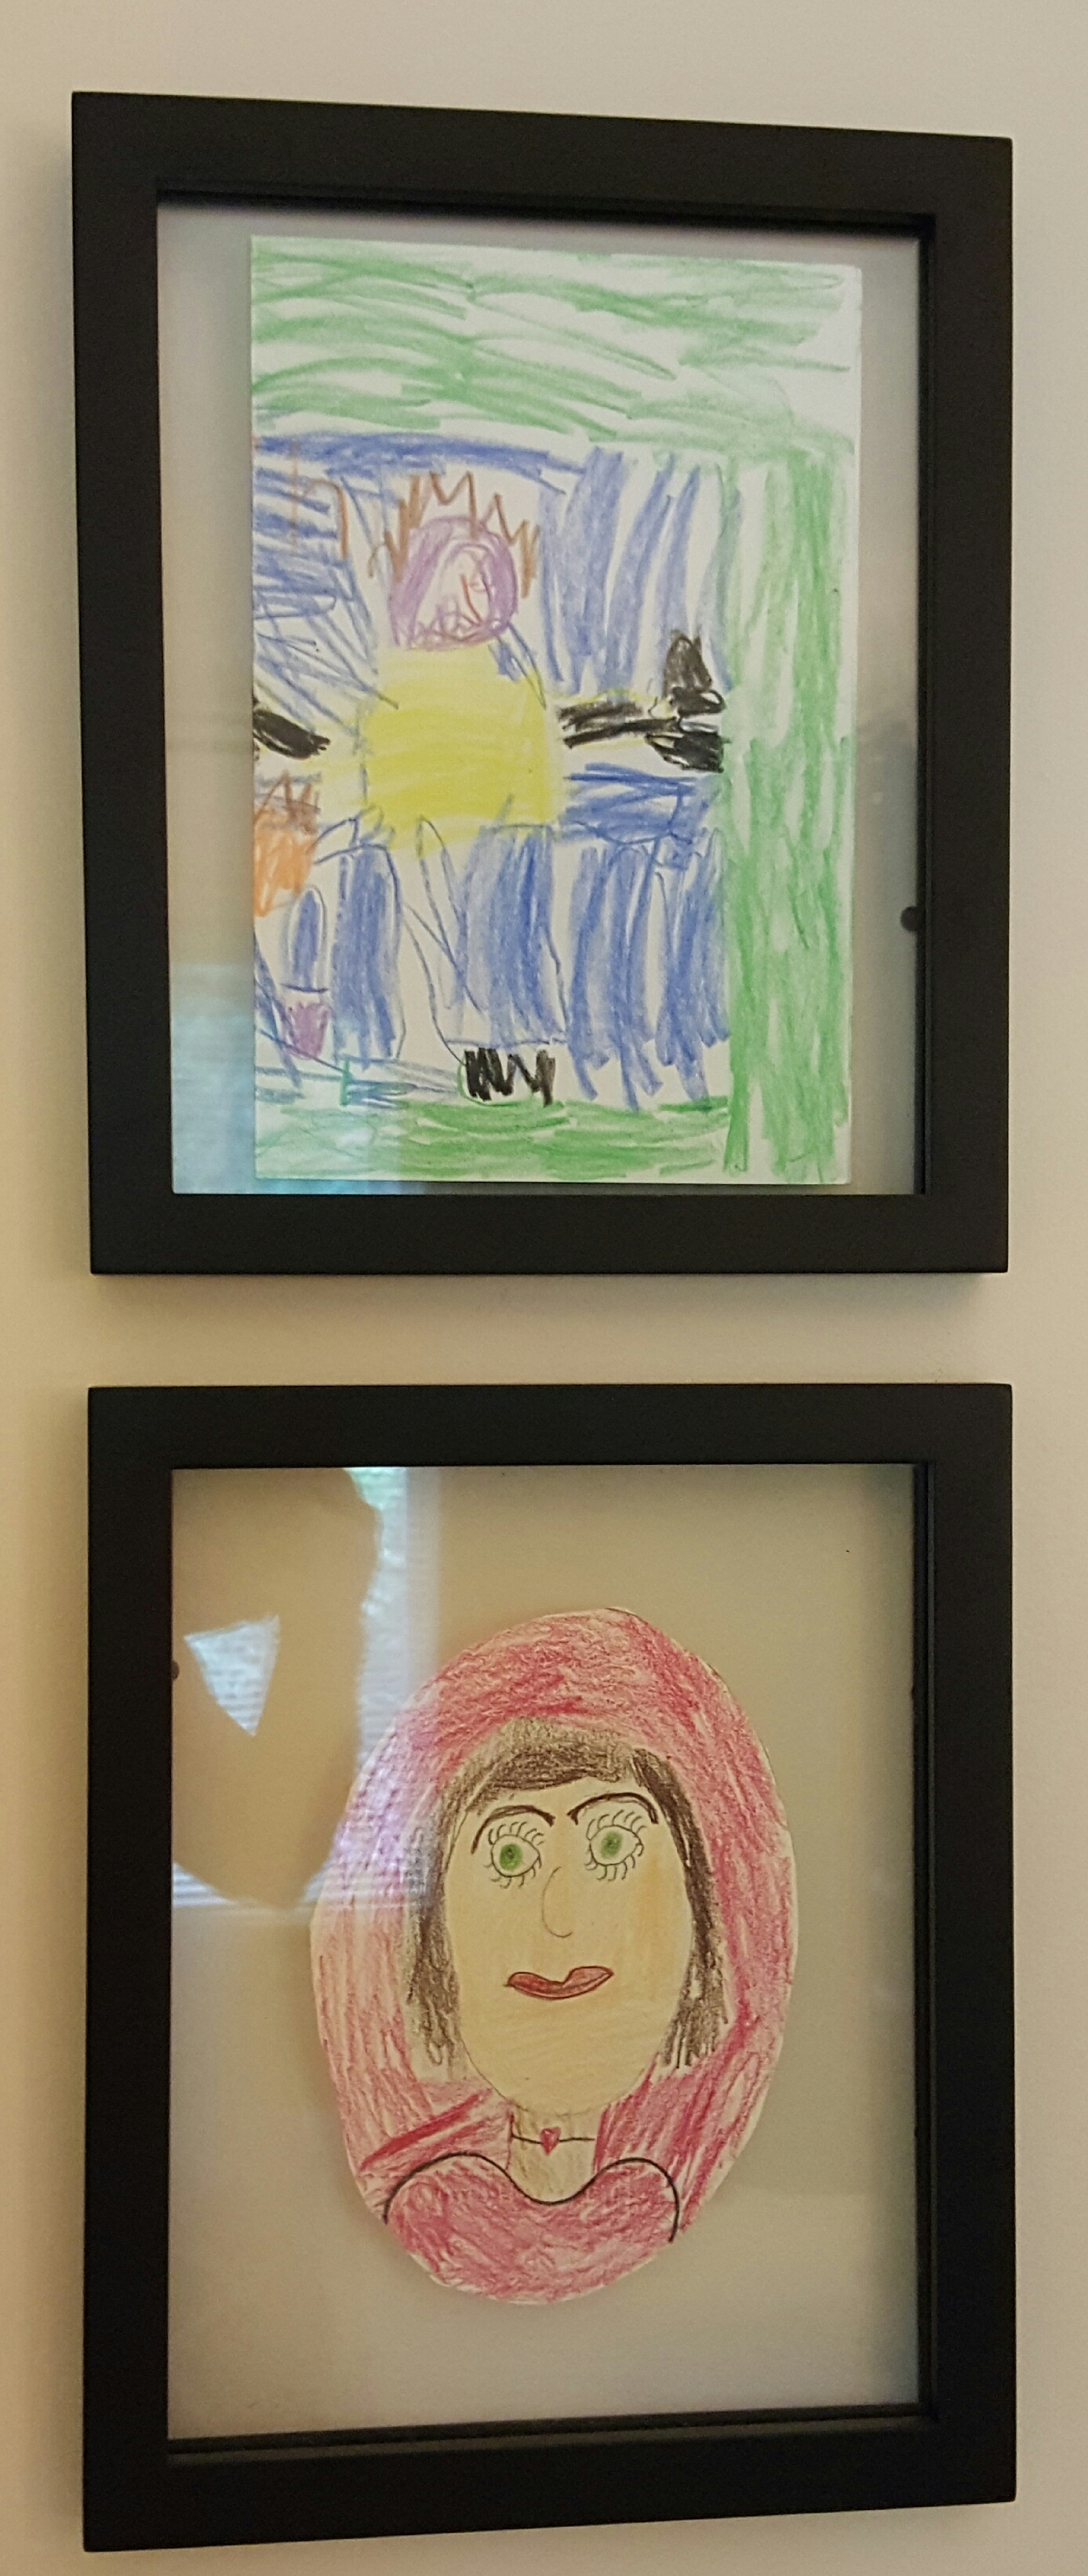
10. PERSONAL TOUCHES: I displayed some drawings that my children made through the years. 

For the Guest’s Bathroom:

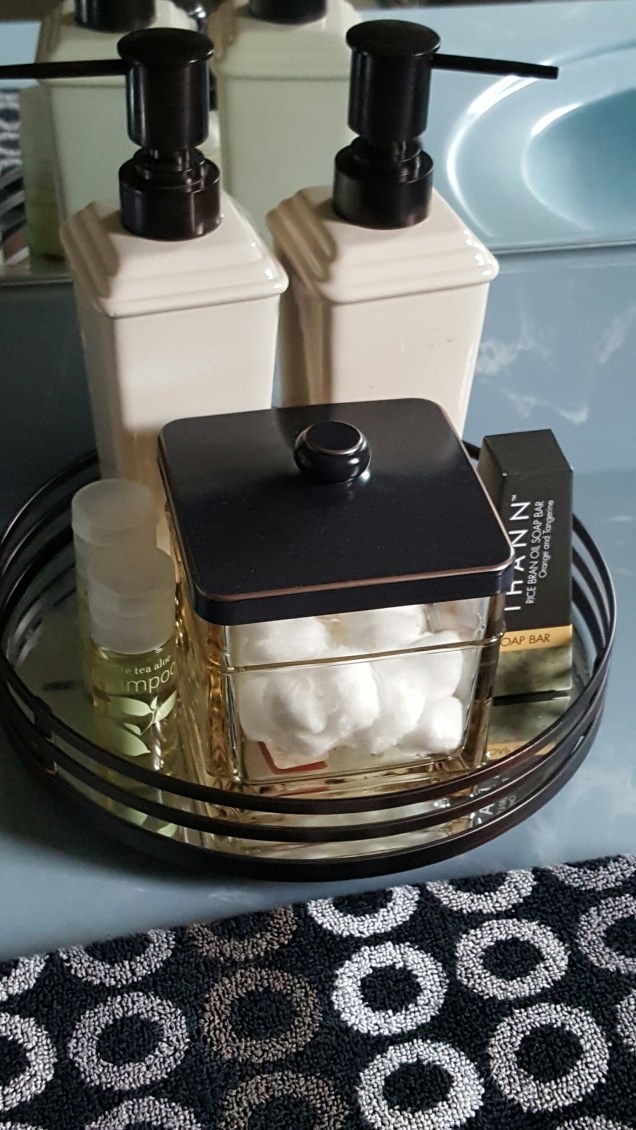
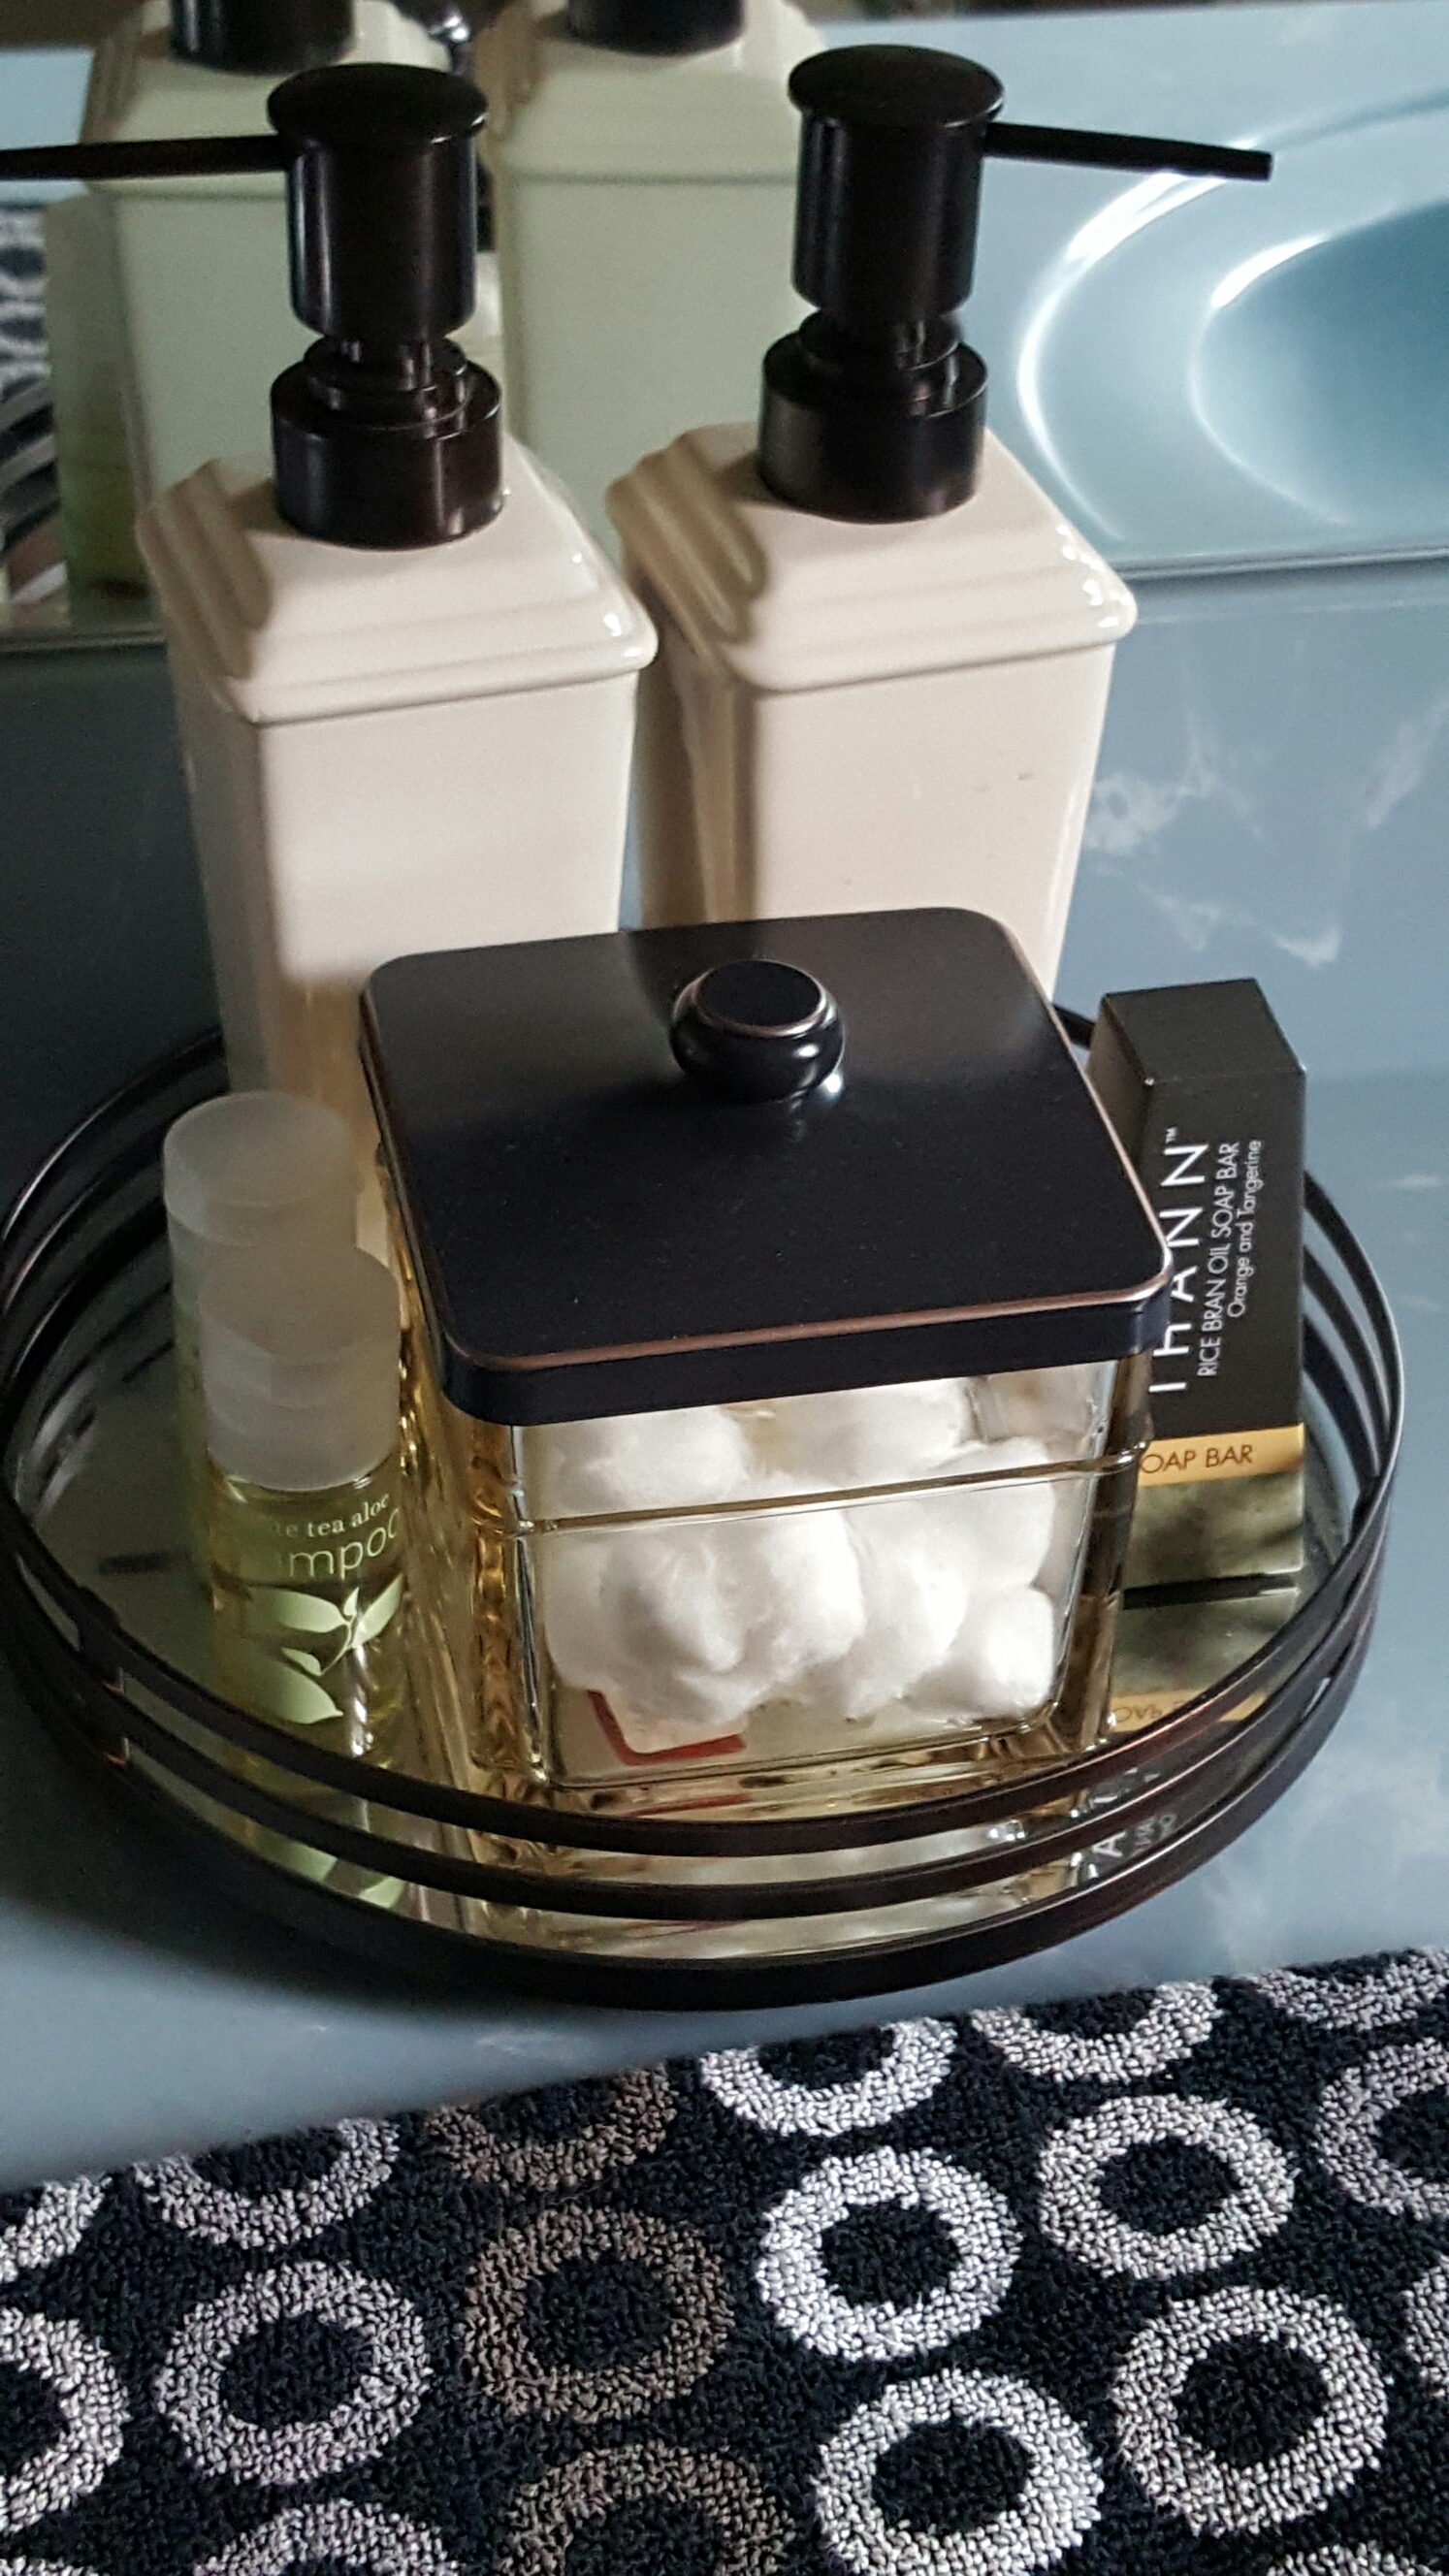
Whether you are sharing or they have their own Bathroom fresh towels are a must.!. A bath towel, a hand towel, plenty of wash clothes per guest. Note: I prefer dark washclothes so that makeup stains aren’t an issue. Don’t forget a bath mat. Have small bars of soap and travel-size shampoo and conditioner on hand. I like to store them in by category in plastic shoeboxes in the linen closet. I pull out a set for guests and have it on the counter with handsoap, lotion, cotton balls, and q-tips. It’s nice to have extra toothbrushes, toothpaste, flossrazors and, of course extra toilet paper at the ready. A blow dryer is handy to have on hand as well. Always have a nightlight to turn on in the bathroom at night. 

InJOY-Trisha 

PROJECT: Fireplace

This is the lovely fireplace in question.


In past posts I discussed the fireplace in the Living Room. (The thorn in our side.) The fireplace is the first thing you see when you enter the front door. It appears the Keebler Elves made all the bricks; as they are all exactly the same color-Brick Red.

I posted about our idea to have a carpenter build a new surround overtop the brick. It was a beautiful idea, and his drawing was gorgeous; but, the price was outrageous $8.750.00 and not in our budget. So, we scratched that idea and started to brainstorm other options.

Other Options:

#1-Removing the Brick We could remove the brick. Honestly, this idea haunted me. I didn’t want to deal with the mess of removing the bricks. The thought kept me up at night.                                                                                                                                                                       #2-Cover the Brick We could cover the brick with stone, granite, or tile. All wonderful options; however, the gas insert is already deep-set and I didn’t think I would like the look of a heavy stone overtop. I was also concerned about the weight on the floor. The faux stone option; while nice in some situations was just not my cup of tea. The granite idea worked well in our last house; however, it seemed too contemporary in this application. Upon searching, I did not find a tile that I thought kept with the integrity of the house.                                                                                                                                                      #3-Revising the Brick Honestly, I just was resigned from day 1 to make the brick work. I have always liked the look of a brick fireplace and I thought it went well with the style of the house.

Notice (in the before picture above ^)  the grapevine above the arched windows left from the former owners.  Oh grapevine, you are not my friend. I am still trying to pull grapevine from the trees and shrubs on the acre surrounding the house.

Just a reminder when we moved in the walls were a pale pink to match the carpet.  We selected to paint both the walls and the ceiling with Valspar: Malted Milk. There is a cathedral ceiling in the room and I wanted the walls and the ceiling to blend seamlessly. In our last house I had cathedral ceiling and I had a rich color on the walls and a tinted ceiling. I hated it. My eye would always travel to the ceiling and I would cringe. I also had a bright white ceiling with the rich color on the walls and that didn’t work for me either. So this time round, I went with a cream color for the walls, trim and ceiling.

This is the results with the mastic over the red bricks. Note: the bricks on the floor for the original color. Honestly, just doing that made a huge difference.


I wanted to add dimension to the bricks. I didn’t want to whitewash; as I thought it wouldn’t give the fireplace enough depth and dimension. So, we decided to go with my Brother-in-law, Vid’s advice and give mastic and stain a shot. We had nothing to lose and everything to gain.

Step 1: REMOVE UNWANTED ITEMS                                                                                                         a. We remove the brass accents on the gas insert and spray painted them black.                    b. Then, we remove the mantel shelf. Goodbye 1980 mantel shelf. You are no longer welcome here.

Step 2: COVER BRICKS EVENLY WITH MASTIC                                                                                      a. Michael and Vid applied a coat of mastic over the red bricks. Note: I would suggest that only one person does this job; as some people are more heavy-handed than others and the technique is varied throughout. If one person does the job the results are a more uniform look. Live and learn.                                                                                                                                       b. Use a wet sponge to even out.                                                                                                                 c. Let it dry.                                                                                                                                                        d. Sand where needed.                                                                                                                                   e.  Vacuum up dust.

Step 3: DETERMINE STAIN COLOR                                                                                                          We tried several stains to determine which one was best. I would advise doing this on a practice board. Our intention was to build a hearth therefore we did it on the lower portion. The only problem was that later we determined that we did not want a hearth. So, we have sanded and reapplied the stain to try and match several times and it is not an exact match. Our pick for color was: Minwax  Natural. Note: Do not use the one with polyurethane.

Step 4: BRUSH ON STAIN                                                                                                                            We applied the stain to the brick with a foam brush. We let it dry then continued coats of stain until we found our desired color. In our case 2 coats did the trick. If some areas are datker than others; sand and reapply. ie: the bottom area under the fireplace unit appeared more yellow than the rest because again we did not stick with just one person applying. Best rule of thumb: Only have one person apply the stain as everyone has a different technique.

The white paper indicates where the mantel shelf will be installed.


Step 5: PURCHASE THE MANTEL SHELF                                                                                                 We decided on the width/depth/length of the mantel shelf. We wanted it to be the exact length of the brick and the depth and width to be the same 8″. We felt this size would allow us to make a focal statement. I was determined to locate an option in TIN rather than wood. We shopped on the Internet for a Tin-Wrapped Mantel Shelf. We found a local company that carried the line. We were able to special order it in our exact size preference.

Step 6:  SELECT YOUR COLOR                                                                                                                    By shopping local we were able to bring the sample colors home. Double check the color in daylight and evening light. It will look different, I swear. We made our selection and placed our special ordered it to our desired size….it should be here in 3 weeks! I’ll post the picture when it’s installed. wp-1470923701030.jpg

Time Flies

The Kitchen Update:

The granite was installed. We chose TYPHOON BORDEAUX.  It has a beautiful cream tone with a variety of browns, black and a touch of green. We love it! It is so nice to have counter tops once again. It will look amazing once we decide on a backsplash. Stay tuned….but, here is a preview of where we are at.

Just a reminder below is:                                                                                                                                a before pic of the blue countertops                                                                                                          a during pic with no countertops.

Sources:                                                                                                                                                       MCM Natural Stone Inc.                         http://www.mcmstone.com                                                                                                                                Stone Mart    http://www.stonemartmarblegranite.com

Installation Day: Michael and Devonwp-1468555554686.jpg

Main area detail:                                                                                                                                              WASH: sink/disposal/dishwasher SERVE                                                                            PREP: microwave/bread basket                                                                                              COOK: stove/oven.                                                                                                                     STORE: garage door hides all small appliances and plenty of cupboards                  SERVE: bar counter

wp-image-1295040365jpg.jpg

Sink area detail:                                                                                                                                      Kraus double sink with drain racks                                                                                         Kraus oil-rubbed bronze faucet                                                                                                  Two pumps for dish and hand soap                                                                                             An air button was installed for the garbage disposalwp-image-1110459272jpg.jpg

Desk area detail:                                                                                                                               My desk                                                                                                                                                  Maxi’s nap area I need to add a curtain to Maxi’s areawp-image-1308984310jpg.jpg

View of Coffee bar area: wp-image-2034426550jpg.jpg

View towards Sitting area:

wp-image-760084791jpg.jpg

View of the Bar area:wp-image-1592082365jpg.jpg
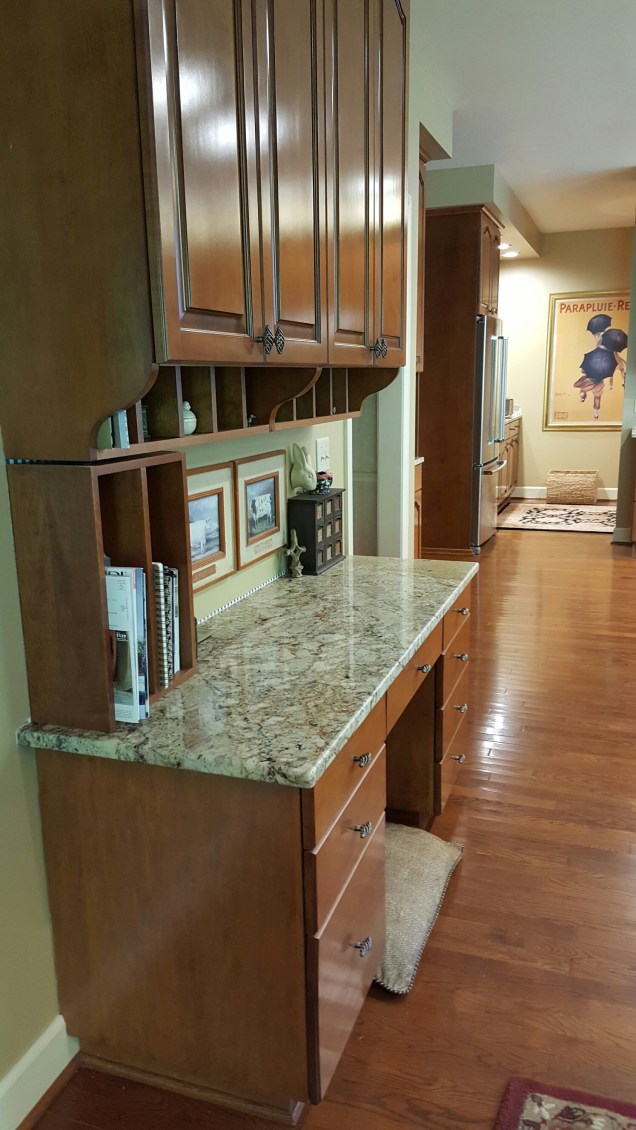
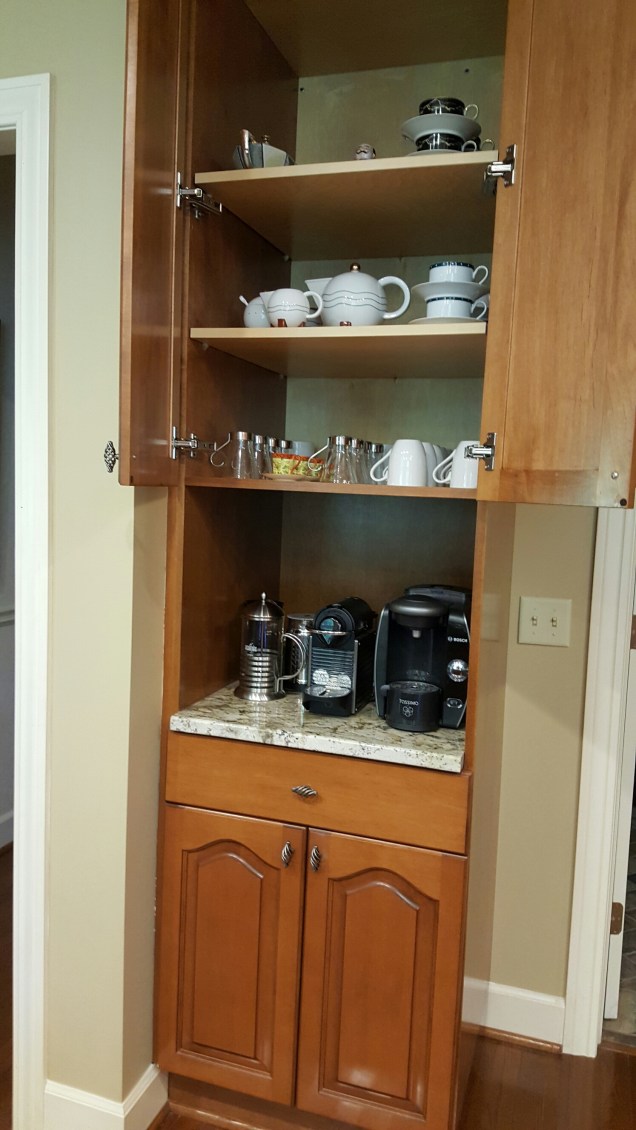
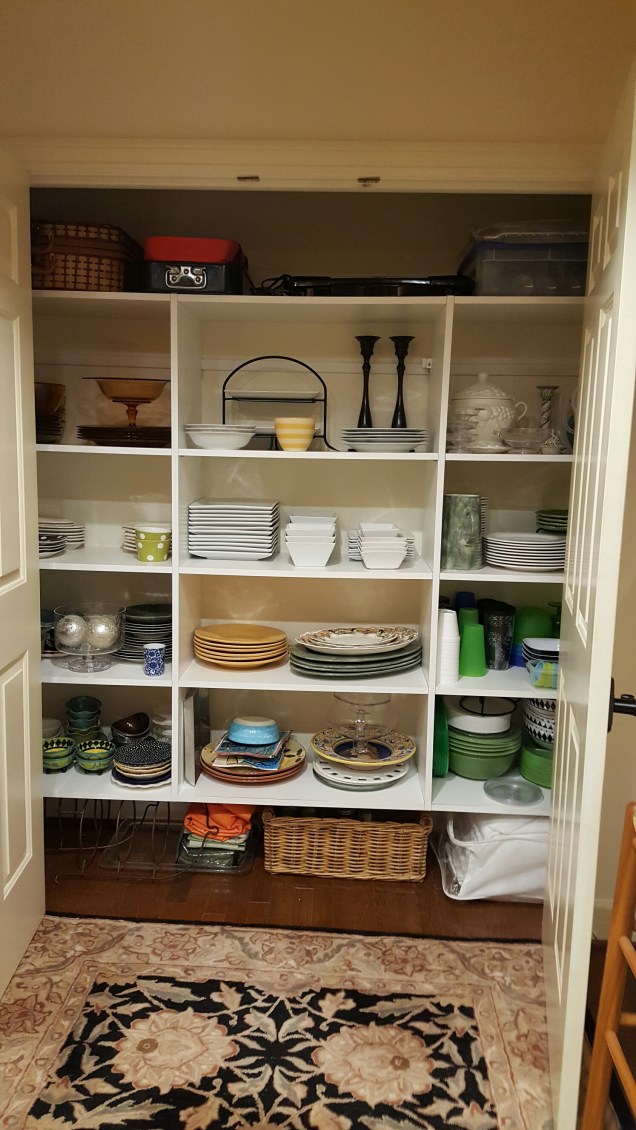
View of the Pantry area:wp-image-625081203jpg.jpg

Honey-do

I love when my Brother-in-Law, Vid comes to visit. He always seems to make a dent in Michael’s Honey-do List. In just a few days he managed to:

  1. Get the Watering System up and working.                                                                 Honestly, we haven’t had a chance to touch it. He fired it up, located all the heads, dug the grass off the top of them, set the timers for all 11 zones and even video taped a “How to” video for us. He ran out of time so we just have to dig the dirt from around each sprinkler stem, insert new pea gravel and a new cover ring and Presto! Maybe we will have a green lawn after all.
  2. Solve the mystery with the Security Lights.                                                                            We couldn’t get the motion lights to turn on. Even after Michael replaced all the lights with brand new ones. Vid was stumped for a second until I mentioned that there are two light switches in the Master that I have no idea what they belong to. Wham-o! Now there is light.
  3. Jump start a Fireplace re-do.                                                                                                      The fireplace brick was so u-g-l-y. We were debating all the ways we could redo it. Suddenly, Vid is knocking off the mantel and slapping mastic over the brick. It helped. Obviously, it’s still crying to have a re-do; but, it’s a little less offensive to the eye.


100 days

We reached 100 days in on 6.21.16. I thought it would be fun to do a List of 100 tasks completed since the journey began.

  1. 12.25.15 IT ALL BEGAN when I discovered the listing of 609 on Realtor.com.
  2. 12.26.15 First showing of 609 meet Realtor, Maggie Coleman at 4:15pm for a walk-thru.
  3. 12.29.15 Put in an Offer on 609.
  4. 1.5.16 Offer gets Denied on 609.
  5. 1.6.16 Up the offer on 609.
  6. 1.25.16 Bank Accepted Offer on 609.
  7. 1.26.16 Choose to list 358 with ReMax Sold Team.
  8. 2.12.16 Meet the Stager for 358.
  9. 2.16.16 Start Packing up 358.
  10. 2.26.16 Real Estate Inspection on 609.
  11. 3.1.16 Start the design609 BLOG Post#1:The Beginning #2:The Journey Begins.
  12. 3.2.16 BLOG Post#3:The Inspection #4:The Stager #5:Think Color.
  13. 3.3.16 BLOG Post#6:Old/Next #7:Before the Inspection #8:Let’s Get Help.
  14. 3.10.16 BLOG Post#10 It’s Not Black and White.
  15. 3.13.16 Complete 358 Listing Paperwork.
  16. 3.14.16 CLOSING DAY for 609.
  17. 3.16.16 Water Authority turns on the water at 609.
  18. 3.18.16 Dave Witzel takes Professional Photos of 358.
  19. 3.19.16 Orville’s Delivers our new appliances at 609.
  20. 3.19.16 Dish Network installs the satellite dish at 609.
  21. 3.19.16 Start to move into 609.
  22. 3.19.16 Scrub 609.
  23. 3.20.16 Stage 358.
  24. 3.20.16 Michael replaces the gold exterior light fixtures with oil-rubbed bronze exterior light fixtures at 609.
  25. 3.20.16 Michael replaces the gold exterior lamppost light fixture with an oil-rubbed bronze exterior lamppost light fixture at 609.
  26. 3.20.16 Aaron paints (2)Guest Bedrooms walls and ceilings Valspar Malted Milk 7003-9 at 609.
  27. 3.21.16 Set up (2) Guest Bedrooms at 609.
  28. 3.21.16 Don and Jimmy fix the Living Room ceiling damage at 609.
  29. 3.21.16 Time Warner installs a new cable line at 609.
  30. 3.22.16 Michael replaces gold doorknobs with oil-rubbed bronze doorknobs at 609.
  31. 3.23.16 Michael replaces old dimmer light switches  with new dimmer light switches at 609.
  32. 3.23.16 Michael replaces all old cover plates with new cover plated at 609.
  33. 3.24.16 Michael replaces all 34 recessed ceiling lights with new LED lights.
  34. 3.24.16 Orville’s installs a gas line for the new stove at 609.
  35. 3.24.16 Aaron paints Dining room walls Benjamin Moore Byzantine Gold 1099 and ceiling Valspar Malted Milk 7003-9 at 609.
  36. 3.24.16 Insurance inspection at 609
  37. 3.24.16 BLOG Post#11 Too Pooped to Putter
  38. 3.25.16 Aaron paints Office Behr Cracked Pepper PPU-19-1 and ceiling Valspar Malted Milk 7003-9 at 609.
  39. 3.25.16 BLOG Post#12 It’s Just Paint.
  40. 3.26.16 OPEN HOUSE at 358.
  41. 3.26.16 Accept an Offer at 358.
  42. 3.26.16 BLOG Post#13 Pass the Pepper.
  43. 3.26.16 Lonnie and Crew paint the Kilz over Wallpaper in Kitchen, Butler’s Pantry, Laundry Room and Master Bedroom  at 609.
  44. 3.27.16 Offer dies at 358.
  45. 3.28.16 BLOG Post#14 Two Weeks In.
  46. 3.28.16 Accept a new offer at 358.
  47. 4.2.16 Lonnie and Crew paint the Kitchen, Butler’s Pantry and Back Stairwell walls Benjamin Moore Bridgewater Tan 1096 and ceilings Valspar Malted Milk 7003-9 at 609.
  48. 4.2.16 Purchase Dining Room Table from DL Home and Garden for 609.
  49. 4.2.16 Ernie Swan from Swan Tile gives a Quote for the brick floor at 609.
  50. 4.2.16 Lonnie and Crew paint the Living Room walls and ceiling Valspar Malted Milk 7003-9at 609.
  51. 4.3.16 Michael installs the ceiling fan in the Livingroom at 609.
  52. 4.4.16 BLOG Post#15 Week 3.
  53. 4.5.16 Aaron paints Master Bedroom walls Valspar Homestead Ballroom Gold 3003-7C at 609.
  54. 4.6.16 Aaron paints the Laundry Room Vaspar Mark Twain House Ombra Gray 4004-2A a National Trust for Historic Preservation Color at 609.
  55. 4.6.16 Ernie Swan installs the hardy board for the brick floor at 609.
  56. 4.9.16 Ernie Swan starts laying the brick floor at 609.
  57. 4.10.16 Oil the grates and burners for the first time at 609.
  58. 4.11.16 Ernie Swan grouts the brick floor at 609.
  59. 4.11.16 Order from Bassett a Bed frame for Master Bedroom at 609.
  60. 4.13.16 Ernie Swan completes the brick floor at 609!!!!
  61. 4.13.16 Chris Di Giovanni from Hidden Valley cleans up the yard at 609.
  62. 4.15.16 DL Home and Garden delivers the Dining Room Table at 609!!!!
  63. 4.18.16 BLOG Post#16:Week 4.
  64. 4.24.16 Order from Bassett a Coffee table for Living Room at 609.
  65. 4.24.16 Order from Bassett a Dresser and a Mirror for Master Bedroom at 609.
  66. 4.25.16 BLOG Post#17:Weeks 5&6.
  67. 4.26.16 Metro Mattress delivers the new Tempur-Pedic king size bed for Master Bedroom at 609.
  68. 4.26.16 Move into Master Bedroom.
  69. 4.26.16 Michael and Austin open up the wall, lay plywood and frame for Amanda’s Closet at 609.
  70. 4.27.16 Michael and Austin drywall, sand and mud Amanda’s closet at 609.
  71. 4.28.16 Aaron paints Amanda’s Closet at 609.
  72. 4.29.16 Aaron paints Amanda’s Suite at 609.
  73. 4.30.16 Amanda moves into her suite.
  74. 5.4.16 BLOG Post#18:Week 7.
  75. 5.19.16 Aaron paints the Sun room walls Benjamin Moore Green Tea#236 and ceiling Malted Milk at 609.
  76. 5.20.16 Aaron paints the Kitchen Hearth Benjamin Moore Urban Legend #238 at 609.
  77. 5.20.16 We finally find new toilet seat covers that match the toilets.
  78. 5.23.16 Rochester Premier Roofing starts the roof at 609.
  79. 5.24.16 Daniel Tree Trimming Trims the Japanese Maple at 609.
  80. 5.24.16 Sign the Closing Paperwork for 358.
  81. 5.25.16 BLOG Post#19:Weeks The Month of May 8, 9, 10.
  82. 5.26.16 Bruce from Fawn Meadow meets to quote fireplace redo at 609.
  83. 5.27.16 Rochester Premiere Roofing finishes the roof at 609.
  84. 6.1.16 Select wallpaper for the entry at 609.
  85. 6.2.16 BLOG Post#20:What’s Next? #21:Here Comes the Rain.
  86. 6.8.16 BLOG Post#22:What a Gorgeous Morning.
  87. 6.9.16 BLOG Post#23:In Bloom.
  88. 6.9.16 Bruce from Fawn Meadow presents fireplace quote at 609.
  89. 6.12.16 Install new entry chandelier at 609.
  90. 6.12.16 Spray paint old chandelier and install it in the Kitchen at 609.
  91. 6.12.16 Order new shades for the old chandelier at 609.
  92. 6.14.16 BLOG Post#24:Baby Steps.
  93. 6.14.16 MCM Stone comes to template for granite counter tops.
  94. 6.21.16 100 Days in at 609.
  95. 6.23.16 Daniel Tree Trimming starts their work at 609 removing trees.
  96. 6.24.16 Daniel Tree Trimming finishes their work at 609 trimming shrubs.
  97. 7.1.16 The new Stainless Steel Range hood gets delivered.
  98. 7.1.16 The granite counter tops get installed at 609.
  99. 7.2.16 Michael installs Faucets in the kitchen and bar sink.
  100. 7.2.16 BLOG Post#25:100 Days (oops, it never posted until 7.12.16.

BABY STEPS

Happy Tuesday.
We are in our 13th Week. This is a week of small baby steps.
First up: NEW CHANDELIER
We replaced the chandelier in the main entry.

image

The large brass fixture had to go.

image

We replaced it with an oil-rubbed bronze 2-tiered fixture with bamboo shades.

image

We are attempting to revise the old brass fixture with a can of spray paint and new shades. Hopefully it will look good above the kitchen table. Stay tuned.

NEW COUNTERTOPS:
Speaking of the Kitchen. We are having the templet done for the countertops.
It’s a mixed feeling day.
Excitement that the new countertops will soon be installed.
and
Dread that you have some time before installation where you have no sink, disposal, dishwasher or countertops. Luckily, there is a laundry room sink around the corner that will work in the meantime.

The big challenge was removing the corner cabinet with the garage door. This was not an easy task. We were blessed that Mike, the owner of MCM provided his personal assistance to Michael.

Just a FYI:
Corner cupboards are the first to be installed. That being said, the cabinet next to it must come down before you can remove the corner.
Not a simple one man job.

image

My crazy husband put it back up this morning all by himself. Do not ask me how or why he did it. (To the right of the stove). Next to the gap where the corner cabinet goes.

image

Incase you forgot; these are the charming blue countertops that we are replacing.

image

This is the granite that will be installed.

We had some false starts this week as well.

FIREPLACE REDO:
We are struggling with the fireplace redo in the livingroom.

image

A reminder of what we are working with. And what we desire.

After much search, we finally found a master carpenter. We met with him and he drew up a beautiful plan that was exactly what we had hoped for…..except we both almost had a grabber when he gave the price.  So we are back to the drawing board.

image

This is simular to our plan. I have to continue to remind myself that Rome wasn’t built in a day. We’ve already accomplished alot and it’s o.k. if we have pink carpet for a little bit longer. Rest assured it will all be done one day soon.

YARD WORK:
We also got our quotes for the tree and shrub trimming and removal. That was another shocker. Yikes!

PLUMBING:
And, then the quote for the plumbing work. That was the triple threat. After that I thought O.K. this is getting ridiculous.

Perhaps everyone is so busy that they don’t want the jobs. Therefore, they are just throwing out a huge quote and figuring if we are willing to pay then they’ll do the work. That’s o.k. we can wait.

image

We’ll take a break and have no worries like Maxi dog. What a life. She has the right idea.

Enjoy your week.
Trisha

In BLOOM

image

There is something so amazing about a tree in bloom. It’s just a short window of time to see an amazing burst of beauty.

image

This beauty, (a Service Berry, I believe) is in the back corner of the house. It’s not visible from the house except for the Master bathroom window. From inside you only see the branches beneath. It’s beauty is remarkable and it’s been my personal treasure. I’d like to share it with you.

image

In the front yard, there is another variety. It’s beauty is a quieter kind.

image

Close up you can see how spectacular it is.

image

The lilacs bushes came and went before I thought to chronicle their beauty. Here is a picture from a few weeks ago.

image

This is how they look today.

image

As you can see it’s luster has passed. Don’t forget to stop and enjoy the treasures in your yard before they pass.
InJOY-Trisha

What a gorgeous morning.

image
Morning on the front porch

There has been a cold spell in the air. Today’s high temperature is 60° and cloudy. It’s only a reminder to cherish those remarkable days when we get them.

Last week the morning welcomed a sunny, blue sky, gorgeous kind of day.

So I took full advantage by enjoying a cuppa on the front porch with Maxi dog.

image
My mostly companion, Maxi

We dream of these perfect days all winter. So often they slip bye before we get a chance to enjoy them.

image
View from the porch

I wish you could hear all the birds chirping, doves cooing, woodpeckers pecking and rooster crowing. It’s a soothing natural chorus.

image

TIP: For instant color I like to purchase hanging potted plants to pop right into my urns.
Whammo! Instant gratification.

Source-
Hanging plants:
Bauman’s Farm Market $22.99
Urns: 
TJ Maxx $39.99

image
View from the porch

Update- View of the new roof
Before:

image

After:
It’s nice to have that job completed.
I’d highly recommend Rochester Premier Roofing.

image

Think warm thoughts.
InJOY-Trisha