 As we began on our adventure transforming the house where ‘Laura Ashley threw-up’; we decided we needed a professional’s opinion. Not that kind of professional; although it might be a good idea; anyone know of a good doctor? We called in a Handyman, a Wallpaper-Paint Pro.
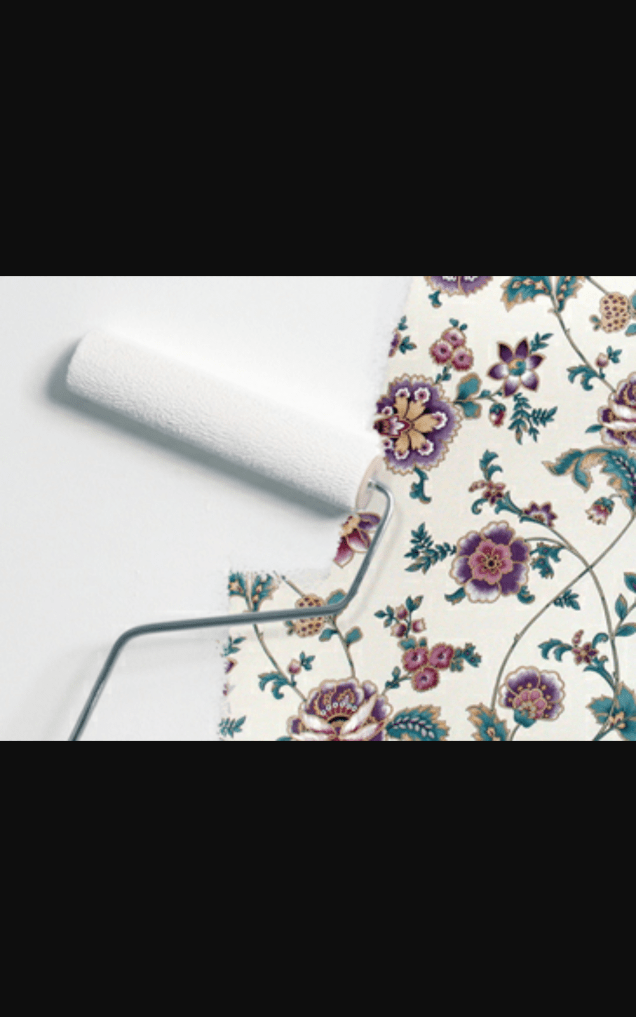
He took out his handy knife and unscrewed a light switch from the wall and lifted up a piece of the wallpaper exposing the wall below. What do you think he saw? The unexpected. “Well, this was a professional job, the seams are perfect. The only problem is they installed it right over the drywall without it being sanded or primed. See how the drywall paper is buckled in some spots? This is quite a job to remove and it will be a challenge to remove it without destroying the drywall.”
So, as he left to add up ‘cha-ching’, how many hours he was going to take to complete just one of many, many rooms and how much it would cost… I grew impatient, overwhelmed, saddened, frustrated and decided to consult my personal handyman, the internet.
I discovered rather than removing all the wallpaper that was going to cause tearing of the drywall paper and require mudding, sanding, priming, painting, repeat I could keep it. No, I didn’t suddenly fall in love with the look of the 80’s floral, striped and bordered look. I could leave it, the wallpaper would actually protect the drywall from getting further damage and prepare it to be painted.
THE STEPS:
•FIX any loose pieces of wallpaper with adhesive
•CAULK where the paper meets the floor and ceiling
•COVER textured paper with a thin coat of joint compound
•SAND the seams, gently
•APPLY a coat of an Oil-Based Primer to the entire surface
•PAINT two coats of Oil-Based Paint
•SMILE breathe a sigh of relief
Yes, I said Oil-Based not Latex; as the walls cannot have a water-based primer or paint. The moisture in the water-based paint can sometimes loosen the wallpaper glue, causing bubbles or peeling.
Sourceswww: benjaminmoore.com, YouTube:jonpetersart&home.com,
YouTube:thisoldhouse.com
YouTube:monkeysee.com
